
I fell in love with the Sailing Home Bundle. My dad built a little kitset sailing boat when we were kids and we use to take it on holidays and sail it on the lake near where I grow up, we just loved taking it out. I was lucky enough as an adult to sail in a fun yacht race with my cousin, it was so much fun and a dream come true! The stamp set has lovely sentiments which suit quite a few occasions. I also saw this set as a great set to make male cards which I always find hard to do. I have already made this card for a male friend’s birthday. Enough of my ramblings and onto the instructions on how I made the card.
Products Used:
Whisper White Thick card (140490)
Night of Navy card (106577)
Whisper White card (106549)
Seaside Spray card (150889)
Crumb Cake card (121685)
Sailing Home Bundle (151066) – save 10% by purchasing the stamp set and dies together.
Stamparatus (148187)
Seaside Spray Stampin’ Pad (150085)
Memento Pad – Black (132708)
Night of Navy/Sahara Sand Baker’s Twine (149483)
Aqua Painter (103954)
Tear and Tape Adhesive (138995)
Multipurpose Liquid Glue (110755)
Stampin’ Dimensionals (104430)
Mini Stampin’ Dimensionals (144108)
Click on the shopping cart on the right hand side to view the products above.

- I cut a Whisper White Thick card 210mm x 148mm (8 ¼ x 5 13/16 inches) and score at 105mm (4 ½ inches) at the longest side.
- Cut Night of Navy card 142mm x 99mm (5 1/9 x 3 1/14 inches).
- Cut Seaside Spray card 136mm x 93mm ( x inches).
- Cut Whisper White card 118mm x 75mm ( x inches). Cut 2 of these, one will be used for the stamped sailing ships, anchor and sentiment.
- Place the Seaside Spray card on the Stamparatus base and hold down with the magnet and place the compass stamp from the Sailing Home stamp set in the left hand corner at the top on the longest side of your Seaside Spray card. Place the plate down on the stamp using the hinges at the top of the Stamparatus.
- Mark where the Seaside Spray card is placed on the Stamparatus base. You will need this marking when you turn the card upside down to do the bottom compasses.
- Ink up the compass using Seaside Spray Stampin’ Pad. Move the plate one hinge across and the Seaside Spry card move it one square on the grid (6mm) ink up the stamp using the Seaside Spray stampin’ pad and stamp next to your first stamp. Keep repeating until you have 4 compasses along the top.
- Turn the Seaside Spray card so the bottom of the card is now at the top. Make sure it is in the same position as your markings. Repeat step (5 & 7).
- For the compasses on the left and right side I moved the card where the compass stamp would in the middle of the top and bottom. The compass did overlap this time to the top and bottom but this is hidden by the Whisper White sheet.
- Place the Whisper White card (118mm x 75mm) onto the Stamparatus in the middle and place the magnet on the edge of the card.
- Place the stamps onto the Whisper White making sure there is plenty of room around the imagines to place the dies around them. I placed the anchor near on edge of the Whisper White as it is going to be inked up in a different colour.
- Place the Stamparatus plate either at the top or side (doesn’t matter) and place the plate on top of the stamps and lift the plate up again with the stamps attached.
- Ink up the two sailing ships (big and small ones) and the sentiment “Set Sail in the Direction of your Dreams” using the Night of Navy stampin’ pad.
- Ink up the anchor using the Crumb Cake stampin’ pad.
- Then place the plate down onto the Whisper White.
- Place the Smooth Sailing dies onto the stamped imagines (I use washi tape to hold the dies in place). Cut the imagines out using your die cutting machine (I use a Big Shot). Note I placed the die for the sentiment near the top so there is space at the bottom for the rope knot.

- With the other Whisper White card (118mm x 75mm) I used my Aqua Painter to add the sea. I up the Aqua Painter using the Seaside Spray stampin’ pad and randomly painted the sea at the bottom of the card. I lightly pushed on the Aqua Painter to get of water, don’t let too much water out or it may wet your card too much.
- At the top using the bird in the Sailing Home stamp set, Momento Black pad and a small clear
 block, stamp the birds. You can use the Stamparatus instead.
- With a scrap of Crumb Cake card cut out the rope and the rope knot from the Smooth Sailing dies using you dies cutting machine. The card would only need to be 160mm x 30mm.
- Cut 100mm of the Baker’s Twine and add it to the anchor. I folded the twine in half and threaded it through the cut out hole in the anchor.... it was a little tricky.
- I used the Multipurpose Liquid glue on the rope knot, long rope and the anchor (be careful to not put too much on as it seep out around the edges). On the
 rope knot only place the glue on the top part of the knot.
- Place the anchor at the top right hand corner of the Whisper White card.
- Place the long rope along the bottom of the Whisper White Card.
- Place the rope knot at the bottom of the sentiment tag.
- Place Tear and Tape Adhesive on the back of the Night of Navy and adhere to the Whisper White Thick card.
- Place Tear and Tape Adhesive on the back of the Seaside Spray and adhere to the Night of Navy card.
- Place Stampin’ Dimensionals on the back of the Whisper White card and adhere to the Seaside Spray card.
- Place Mini Stampin’ Dimensionals on the back of the two sailing ships and the sentiment to the Whisper White card. I place the larger sail ship to the left, the smaller sailing ship in the middle and up a little bit from the larger sailing ship (the sail sits nicely between the birds) and the sentiment to the right side of the card. The top of the sentiment should sit on top of the anchor.
I hope you enjoy making this project as I have making it! Please feel free to leave a comment and happy to answer any queries.
Thank you and happy crafting. 😄


 block, stamp the birds. You can use the Stamparatus instead.
 rope knot only place the glue on the top part of the knot.


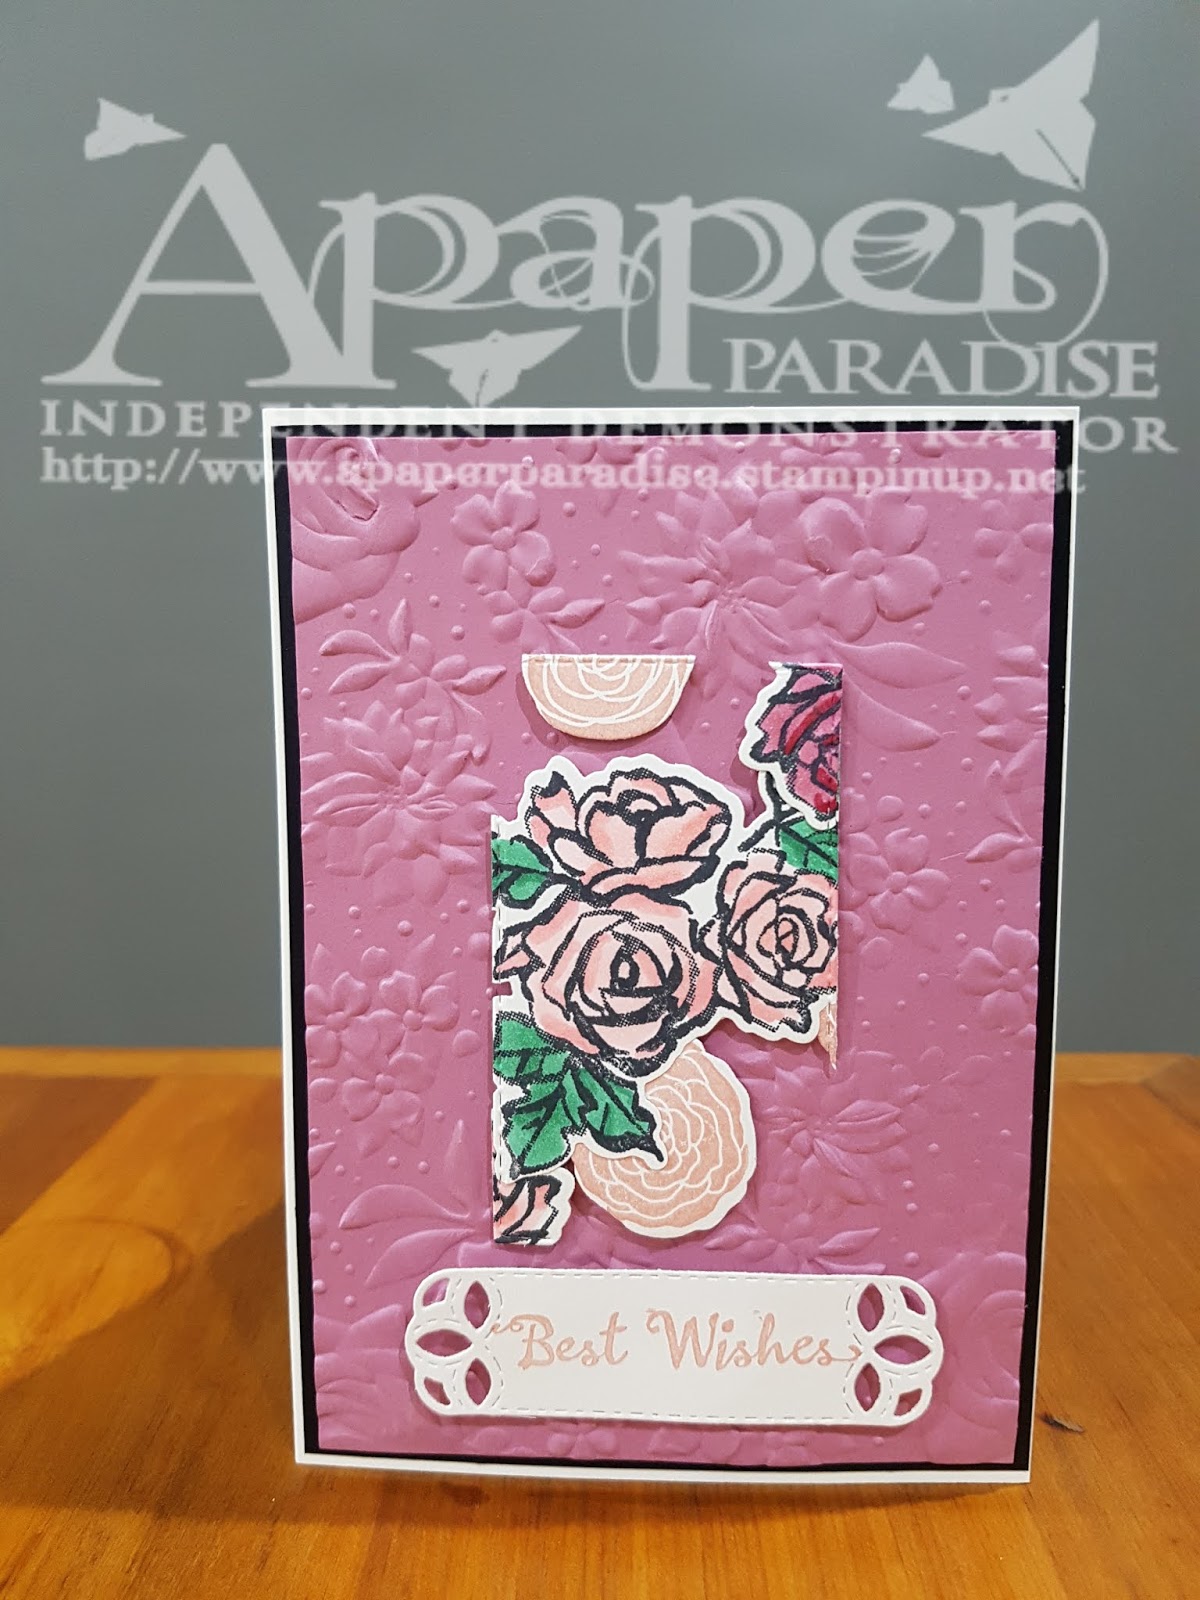


 I had to laugh as one of the ladies stamped her sentiment which didn’t turn out so she turned the card over and re-stamped the sentiment (Best Wishes) and cut it out….. To our amazement the sentiment was exactly in the same position (see the photo).

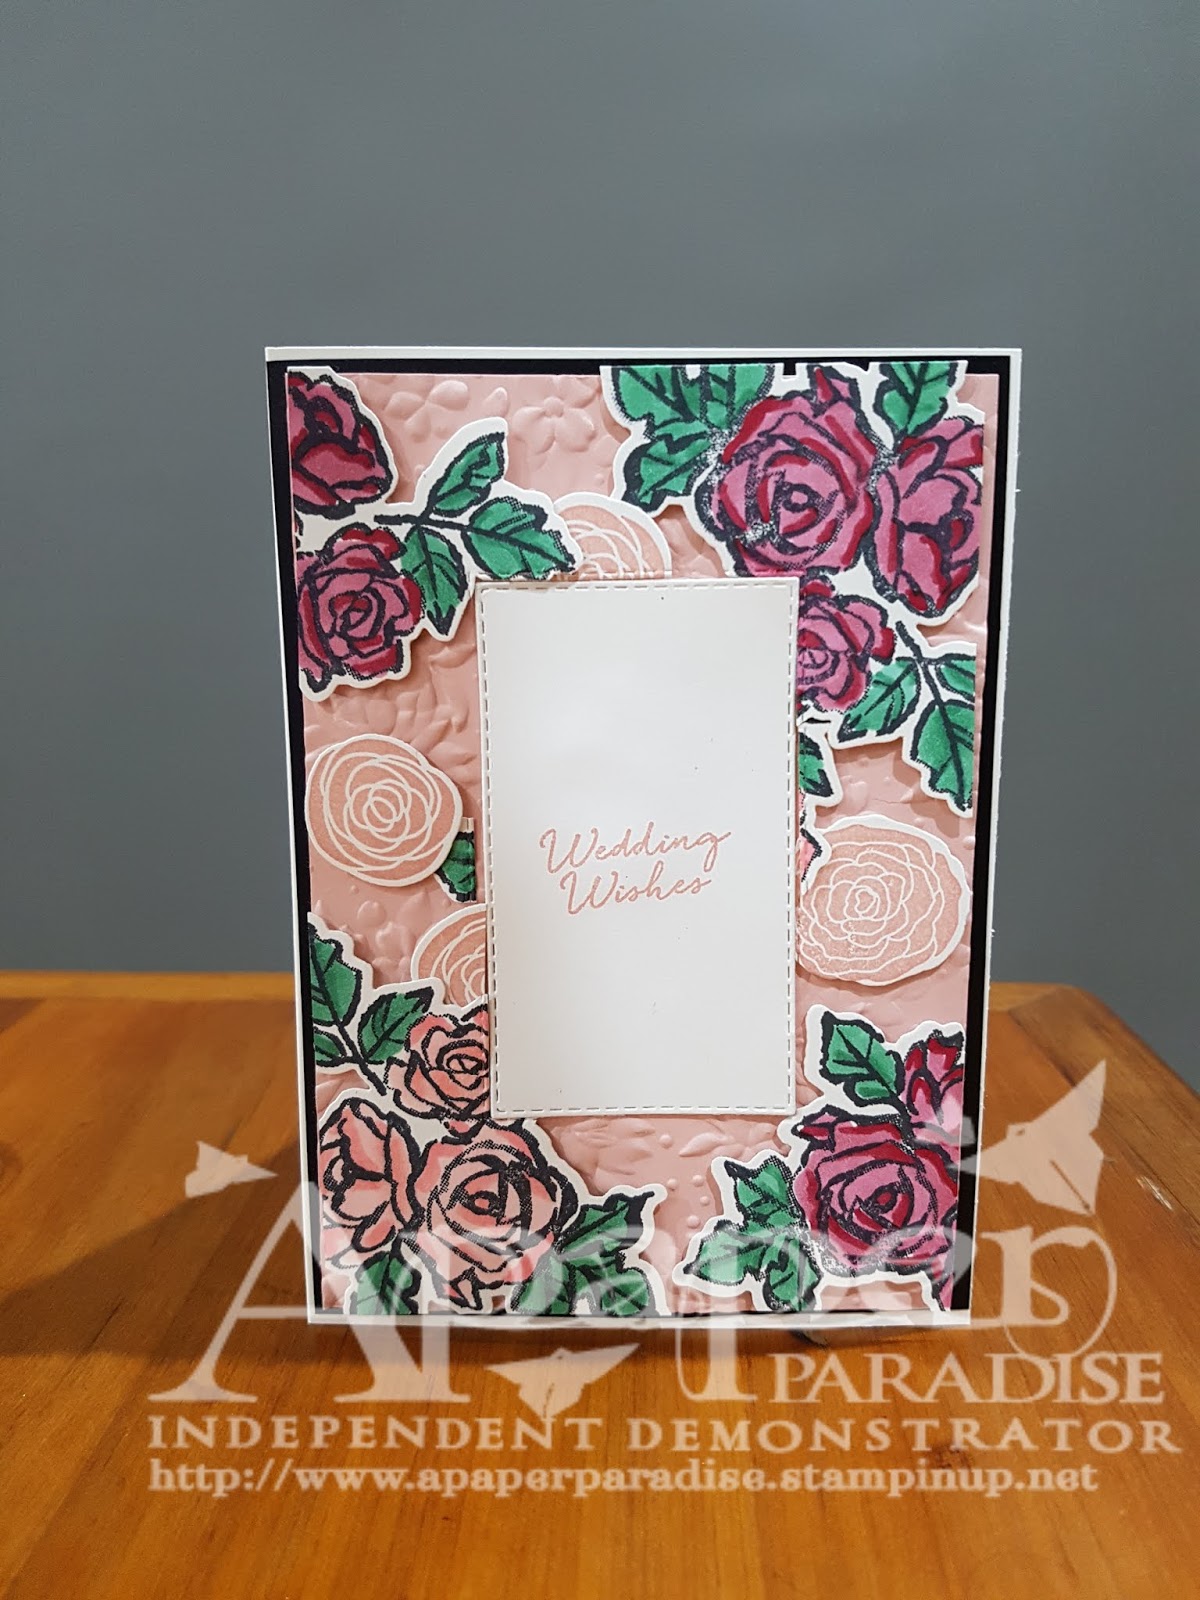
 I used the Forever Lovely stamp set, Corrugated Dynamic Textured Impressions Embossing Folder with the Lovely Lipstick Card, Well Written Framelits using Olive Green and Lovely Lipstick card, and the Rectangle Stitched Framelits on Whisper White card. The card base is Whisper White Thick card 210mm x 148mm and scored at 105mm and the Heart paper is from the All My Love Designer Series Paper 142mm x 99mm. The hearts on the Whisper White Card rectangle is stamped with the stamp in the Forever Lovely stamp set and I used Pink Pirouette and Lovely Lipstick ink pads.
 The heart in the corner was cut out using some of the left over hearts after cutting out the rectangle as I had stamped an area on Whisper White card larger than the rectangle. I used the heart from Well Written Framelits and then used dimensionals to 3D it.
 The flowers and stem are from the Well Written Framelits and I cut them out using Olive Green and Lovely Lipstick card. In the middle of the flowers I used a pearl. The other leaves, sentiment and hearts on the sentiment banner are from the Forever Lovely stamp set and cut out using the Lovely Flowers Edgelits. I cut out the sentiment with a rectangle from the Rectangle Stitched Framelits.


